The Making of a container crane
(Part 3)
The first light check turned out that the red blinking
LEDs are working as I hoped. All three blinker have a different pulsating speed
which is really a cool effect.
After finishing the booms, I was searching the internet
for pictures of the trolley but it seems not much attention is devoted to this
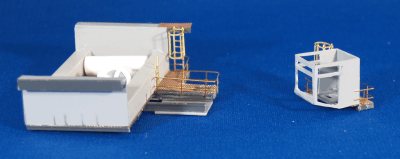
piece of the crane. I found some information from cabin manufacturers and pieced
together a trolley that properly looks completely different than what

The cabin would be painted yellow outside and gray inside
and after and equipping with glass and a Preiser worker, it would be glued
underneath the cable motors. Unfortunately there was no way to add light to the
cabin or the spreader since I could not find a place for a battery. The
The trolley part with the cable motors and the electric
wheel was the toughest part to find pictures. My search turned out only two
pictures, but luckily one was from the top and the other one from underneath. I
doubt that it is even close what the
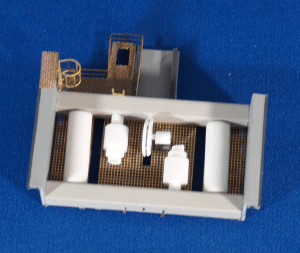
The next piece was the spreader. There are many companies on the internet that advertise their products and I chose the one that was easily to built in my scale. A spreader is actually made of two pieces and the lower piece switched according what type of containers need to be unloaded. The pictured part is the piece that grabs the containers, in this case two 20 or one 40 foot, while the other piece is always attached to the cables and only moves the spreader up and down.
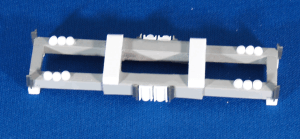

This picture shows the complete spreader with the top piece and the four cable rollers. The middle (loose) cable brings the power and control impulses to the spreader.
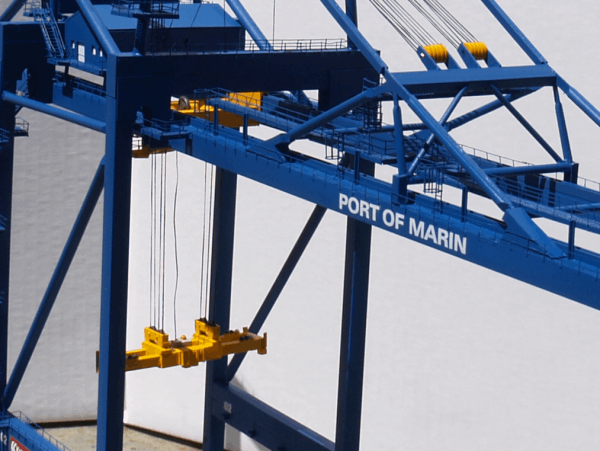
The last major pieces I needed were the wheels and wheel
cases. I also had to borrow the case design from another crane since there were
no close ups available from

After finishing the last piece, and six month of work, and two years of research, I was so tired of this project that I stowed it away. The next day, the Greenlight Intermodal, a web site http://greenlightintermodal.info/Home_Page.php dedicated to N-scale intermodel modelers announced a contest in kitbashing and scratchbuilding rolling stocks and structures. This encouraged me to bring the model out again and continue my work. I glued together the two boom parts and connected the electric cables for those pieces. I also test fit the boom and the pillar.
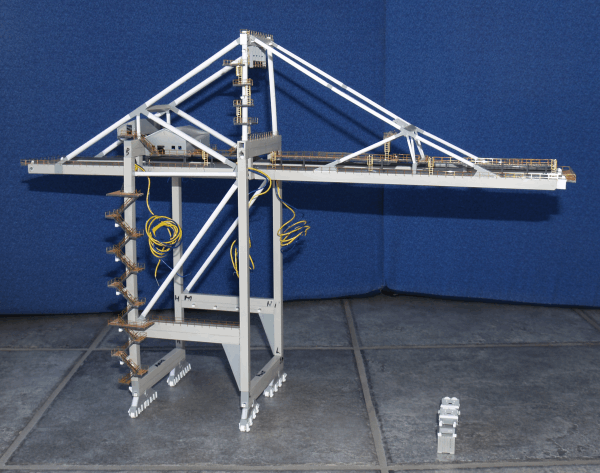
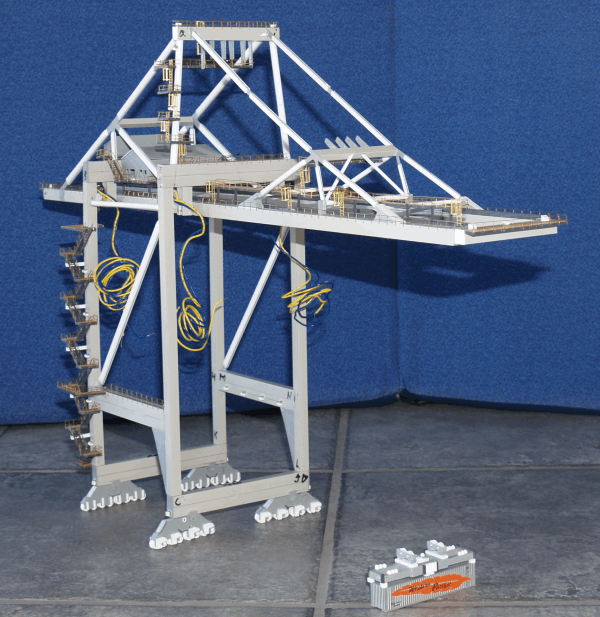
This gave me to the first time a sense of the size of the
crane and I had to realize that I needed to re-design the harbor part of my
layout. The container storage area now became the new home of the crane since I
did not want the back boom extend over the railroad tracks of the yard.
After I glued the boom to the pillar, I hooked up all the
wires and added the last railings and stairs just to find out that I must have
cut a wire to the flood lights between the pillars. After making sure that no
wires were visible, I had to add a magnet wire on the outside and connect two
LEDs to get the power flowing.
The last challenge was to paint the crane. The original
crane is green with yellow wheel cases, trolley, spreader and cable rollers. I
kept the yellow but used a nice blue,
The nice part about EZ-line is that it stretches without putting much pressure on the attached pieces. The cables that would lift the boom were installed in a few minutes and I had not problems to keep them tide which would have been a major undertaking with regular yarn or thin magnet wire.
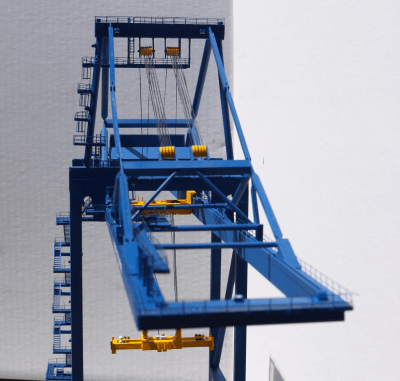
The connection with between the trolley and the spreader
took more time since I had to make sure that the spreader was perfectly level.
The little weight the spreader has was enough to stretch the shortest EZ-line
pieces. I will also add some weight in the container that will be hooked up to
the spreader just in case.
I also added an EZ-line piece for the electric cable but
this piece is kept purposely looser since in the real world it should not pulled
tide or it could snap.
More pictures of the finished crane can be seen here Photo
Page
I entered the Greenlight Intermodel 2007 Contest and the
judges were so kind to award me the first place in the Scratchbuild category
with the top honor of Best In Show.
Check out the 2007 Contest page for great showcase pieces
of my fellow model railroaders. http://greenlightintermodal.info/2007_Intermodal_Contest.php
If you missed
the 2007 Contest, Steve from Greenlight Intermodal has already announced the
2008 Contest and information can be found at http://greenlightintermodal.info/Home_Page.php
I have added 5 PDF files (4 with drawings and 1 part list) if you like to tackle this project. Some of the measurements are slightly off and I had to adjust them before I cut the profiles, but I did not update the files since I did not intent to build a second crane. You can download the Plastruct catalog from their web site.
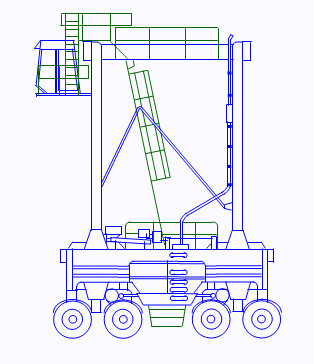
Next project: Kalmar Straddle Carrier
Roland Ruesch 2007